The Page content type is generally used for static content that can (but are not required to) be linked into the main navigation bar. This one of the most "basic" content types and can be very flexible. Examples of the Page content type can be seen throughout this website. Ninety percent of the content is being displayed using the Page content type.
- Log in to the site as an editor or user with the appropriate permissions.
- Click on the Content link in the admin menu or toolbar.
- Manage » Content
- Click on the Add content button
- From the list of content types, select Page
- Enter a title for the page in the Title field.
- Fill in the other fields as desired.
- View descriptions of all available fields below.
- When you are finished, click the Save button to save the page.
Title (required) - Text entered will be used as the title of the content, included in the breadcrumbs, and become the content's URL unless otherwise configured.
Add content to the article with paragraph types - pre-designed modular content, allowing each section to be unique and easy to create.
- Click on Add Paragraph
- Select the paragraph to use from the paragraph browser
- Paragraphs can be filtered by section or searched using the search box
- Continue this process until all desired paragraphs have been created
- Short Title - Alternate title to be used for views, site breadcrumbs, and search engine results. Should be 70 characters or less.
- Thumbnail - Alternate image to be used for views.
- Summary - Short description of content and should be 300 character or less. The summary is used for views and search engine results to help users determine the relevance of the content to their needs.

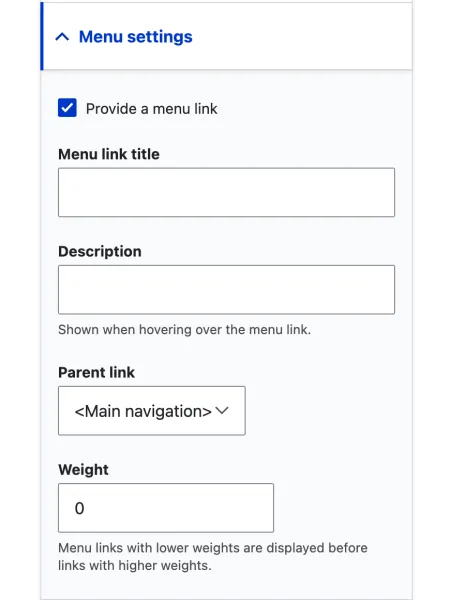
When you are editing content, you can access the menu settings for that content by clicking on the Menu settings tab in the content editor. Then select the Provide a menu link checkbox to display more available options.
The menu settings allow you to control the appearance and behavior of the content in the site's menus. There are several options available in the menu settings, including:
- Menu link title - This field allows you to specify the text that will appear in the menu for the content. If left blank, the title of the content will be used.
- Parent item - This drop-down menu allows you to specify the parent menu item for the content. This determines the hierarchy of the menu and the location of the content in the menu.
- Weight - This field allows you to specific the weight of the content in the menu. Higher weights will cause the content to appear lower in the menu, while lower weights will cause the content to appear higher in the menu.
- Provide a menu link - This checkbox allows you to specific whether or not the content should be included in the site's menus. If checked, the content will appear in the menus; if unchecked, it will not.
By configuring the menu settings while editing content, you can control the appearance and behavior of the content in the site's menus.

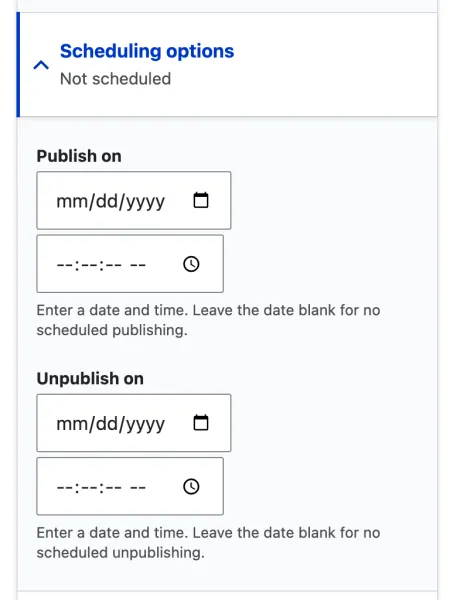
Scheduling options allows you to control the publishing status and date for a piece of content. You can access the scheduling options by clicking on the Scheduling options tab in the content editor.
There are several options available in scheduling options, including:
- Publish on - This field allows you to specify a date and time for the content to automatically be published.
- Unpublish on - This field allows you to specify a date and time for the content to automatically be unpublished.
By configuring the scheduling options when editing content, you can control the schedule of the publishing and unpublishing of the content at specific dates and times.

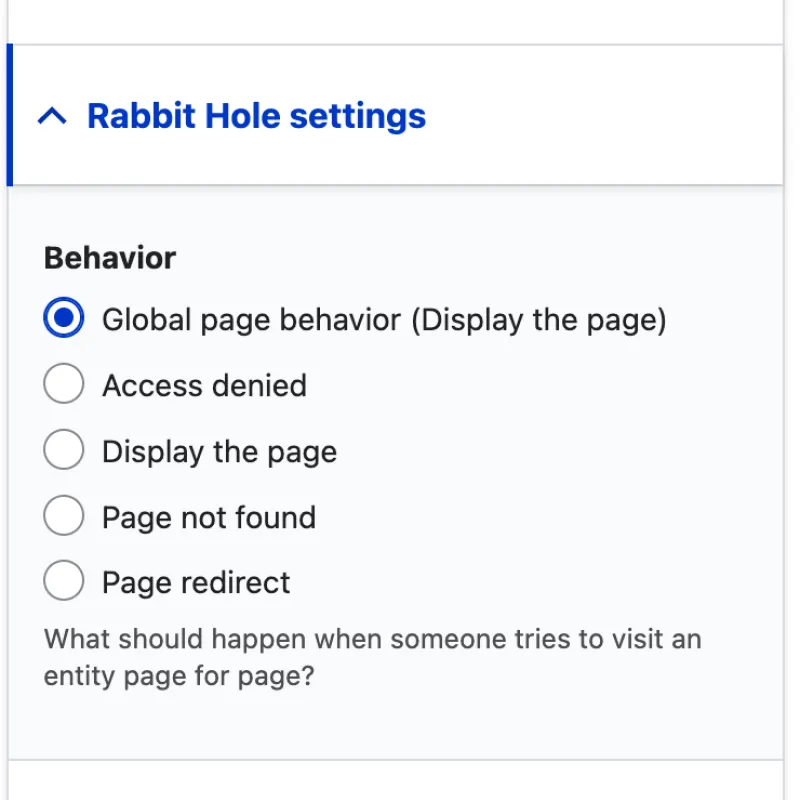
The Rabbit Hole settings allow you to control the behavior of content when it is accessed directly through its URL. You can access the rabbit hole settings for a piece of content by clicking on the Rabbit Hole tab in the content editor.
There are several options available in the rabbit hole settings, including:
- Access denied - This option allows you to specify a custom page to be displayed when the user does not have permission to access the content.
- Display the page - This option allows the page to be displayed as normal to all users. This is the default behavior for all content.
- Page not found - The option allows you to specify a custom page to be displayed when the content is accessed through its URL, but access to the content is disallowed.
- Page redirect - This option allows you to prevent the content from being accessed directly through its URL. If selected, the content will not be displayed and the user will be redirect to a specified page.
By configuring rabbit hole setting when editing content, you can control the behavior of the content when it is being accessed directly through its URL. This can be useful for content that should only be accessible through the site's menus or for content that should only be accessible to certain users.

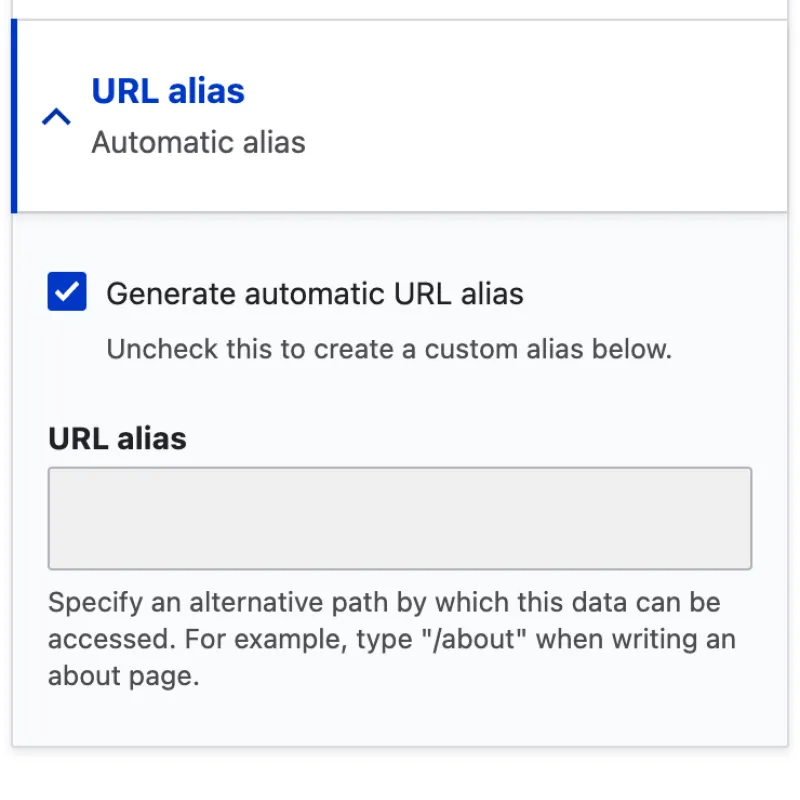
To change the URL alias for a single piece of content, you can edit the URL alias field in the content editor. The URL alias field is usually located in the URL alias tab of the content editor.
Simply unselect the checkbox for Generate automatic URL alias and enter the new URL in the URL alias field, then click the Save button. The URL alias for the content will be updated to the new value.
Note:
- Changing the URL alias for a piece of content will create a redirect from the old URL alias to the new URL alias. This is to ensure that users and search engines can still acces to the content event if the URL alias has changed.

The URL redirects feature allows you to specify a custom URL for a piece of content, which will redirect users to the content when accessed. This can be useful if you want to use a shorter or more memorable URL for the content, or if you want to redirect users from an old URL to a new URL.
To use the URL redirects feature when editing content, follow these steps:
- Click on the URL redirects tab in the content editor.
- Click on Add URL redirect to add additional redirect to the content.
- Enter the custom URL that you want to use for the content in the Redirect from field.
- If desired, select the Redirect status option to specify the type of redirect that should be used. The options include 301 Moved Permanently, 302 Found, and 303 See Other.
- Click the Save button to save your changes.
Note:
- Clicking on Add URL redirect will open a new tab.
- Click on Edit or Delete for the specific redirect will not open a new tab and all changes not saved will be lost.
Now, when users access the custom URL that you specified, they will be automatically redirected to the content. The URL redirects feature can be useful for maintaining the integrity of your site's URLs and for making it easier for users to access your content.