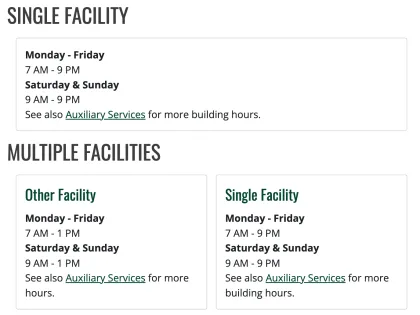
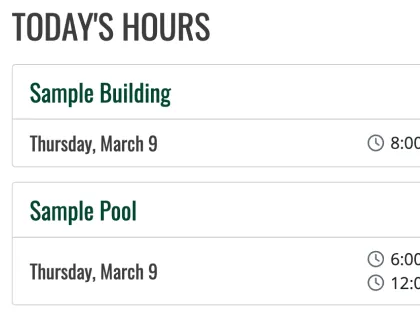
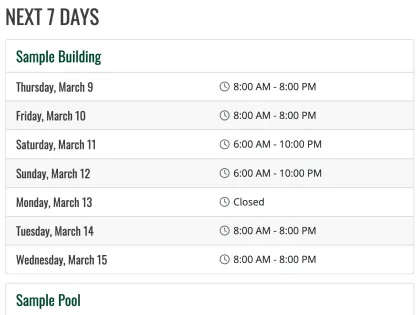
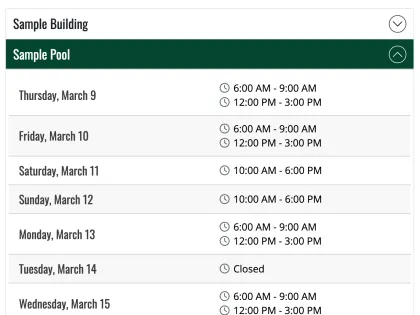
The Facility Hours content type is specifically used for building or office hours of operation, either in general or specific dates and taimes. Facility Hours are displayed in list format, as either Today or the Next 7 Days.
- Log in to the site as an editor or user with the appropriate permissions.
- Click on the Content link in the admin menu or toolbar
- Click on Add content button
- From the list of content types, select Facility Hours
- Enter a title for the facility hours in the Title field.
- Fill in other fields as desired
- View descriptions of available fields below.
- When you are finished, click the Save button to save your facility hours.
- Title (required) - Text entered will be used as the title of the content, included in the breadcrumbs, and become the content's URL unless otherwise configured.
- Facility Name (optional) - Simple name displayed to the visitor to designate the building, office, or facility.
- General Hours (optional) - Text area to enter generic hours
- Hours (optional) - Specific dates and times can be entered. Time can repeat daily, weekly, or monthly and different days of the week can have different times set. To designate the facility is closed, check the All day checkbox. Continue adding hours until all hours have been designated.
- Note: Large and/or complex hours can cause issues. We recommend entering no more than one semester of hours at a time and removing the old hours once completed.
Ability to categorize content through the use of terms.
Taxonomy Terms can be added two ways depending on how the editor wishes to build out the content.
- If the terms to be used are already known, terms can be created and managed following the Add Taxonomy Term guide.
- Otherwise terms can be created on the fly by typing them in the field on your content. This will auto-create the term to be used.
- Be aware though, that capitalization and spelling mistakes can create new terms. Please double check what you type before saving to avoid many different terms.
Categories allow filtering of content based on different category taxonomy terms. This is available for the Article, Facility Hours, Profile, and Spotlight content types.
- Expand the Taxonomy section
- Start typing the term in the Categories field. This is autocomplete so you will be able to select the term from the list of terms available.
- Click Add another item to add additional terms
Content Order works like the weight on a menu, allowing you to set the order of the content when it displays to the user. This is available for the Profile and Spotlight content types.
Use the dropdown to select the order in which the content should be displayed.
- Content with lower numbers appears first.
- Content with higher numbers appear last.
- When two pieces of content have the same Weight / Order the sorting will be alphabetical.
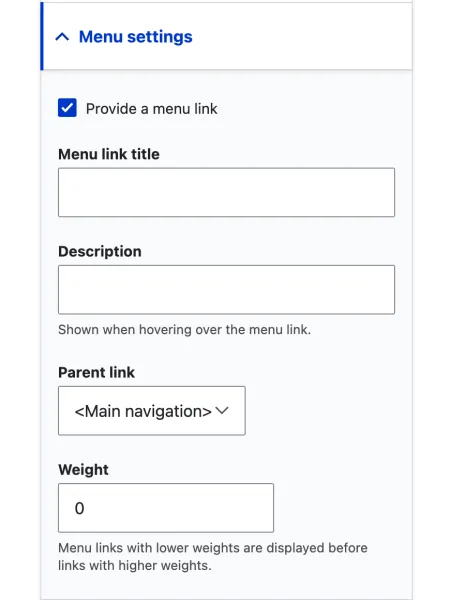
When you are editing content, you can access the menu settings for that content by clicking on the Menu settings tab in the content editor. Then select the Provide a menu link checkbox to display more available options.
The menu settings allow you to control the appearance and behavior of the content in the site's menus. There are several options available in the menu settings, including:
- Menu link title - This field allows you to specify the text that will appear in the menu for the content. If left blank, the title of the content will be used.
- Parent item - This drop-down menu allows you to specify the parent menu item for the content. This determines the hierarchy of the menu and the location of the content in the menu.
- Weight - This field allows you to specific the weight of the content in the menu. Higher weights will cause the content to appear lower in the menu, while lower weights will cause the content to appear higher in the menu.
- Provide a menu link - This checkbox allows you to specific whether or not the content should be included in the site's menus. If checked, the content will appear in the menus; if unchecked, it will not.
By configuring the menu settings while editing content, you can control the appearance and behavior of the content in the site's menus.
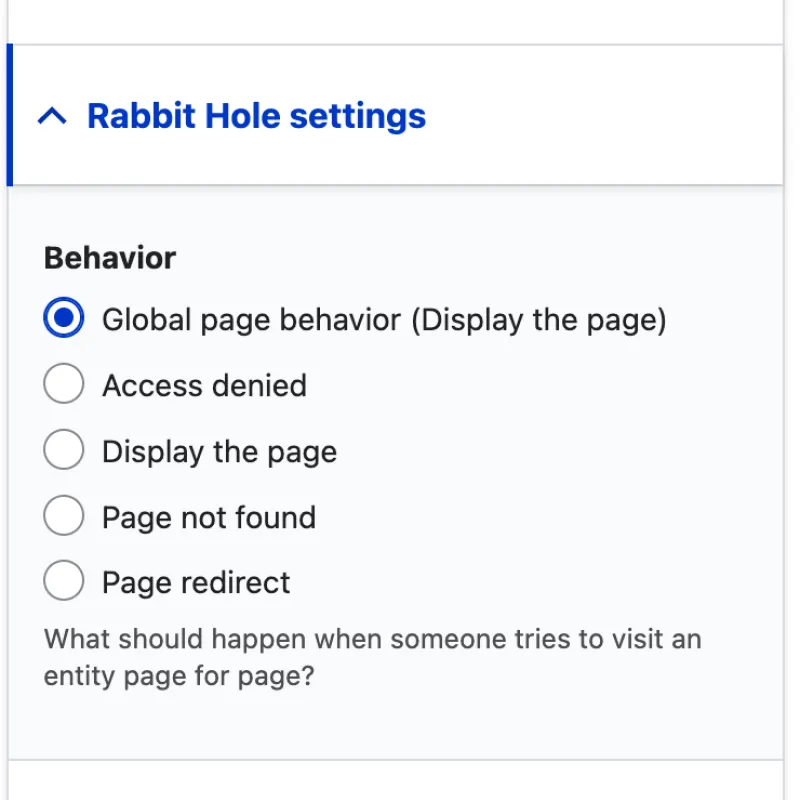
The Rabbit Hole settings allow you to control the behavior of content when it is accessed directly through its URL. You can access the rabbit hole settings for a piece of content by clicking on the Rabbit Hole tab in the content editor.
There are several options available in the rabbit hole settings, including:
- Access denied - This option allows you to specify a custom page to be displayed when the user does not have permission to access the content.
- Display the page - This option allows the page to be displayed as normal to all users. This is the default behavior for all content.
- Page not found - The option allows you to specify a custom page to be displayed when the content is accessed through its URL, but access to the content is disallowed.
- Page redirect - This option allows you to prevent the content from being accessed directly through its URL. If selected, the content will not be displayed and the user will be redirect to a specified page.
By configuring rabbit hole setting when editing content, you can control the behavior of the content when it is being accessed directly through its URL. This can be useful for content that should only be accessible through the site's menus or for content that should only be accessible to certain users.
