Article
The Article content type is generally used for information that updates less frequently, often cross-referenced, and categorized, such as news items or resources. By default, Articles are sorted with the most recent post first.
- Title (required) - Text entered will be used as the title of the content, included in the breadcrumbs, and become the content's URL unless otherwise configured.
- Article Date (optional) - Publish date for the article or date the event took place.
- Author (optional) - Author or department name for the article or event.
- Description (optional) - Brief summary of the article to share at the top so readers get a quick glimpse of what the article is about.
- While optional, the Article - Highlight component does not look right without
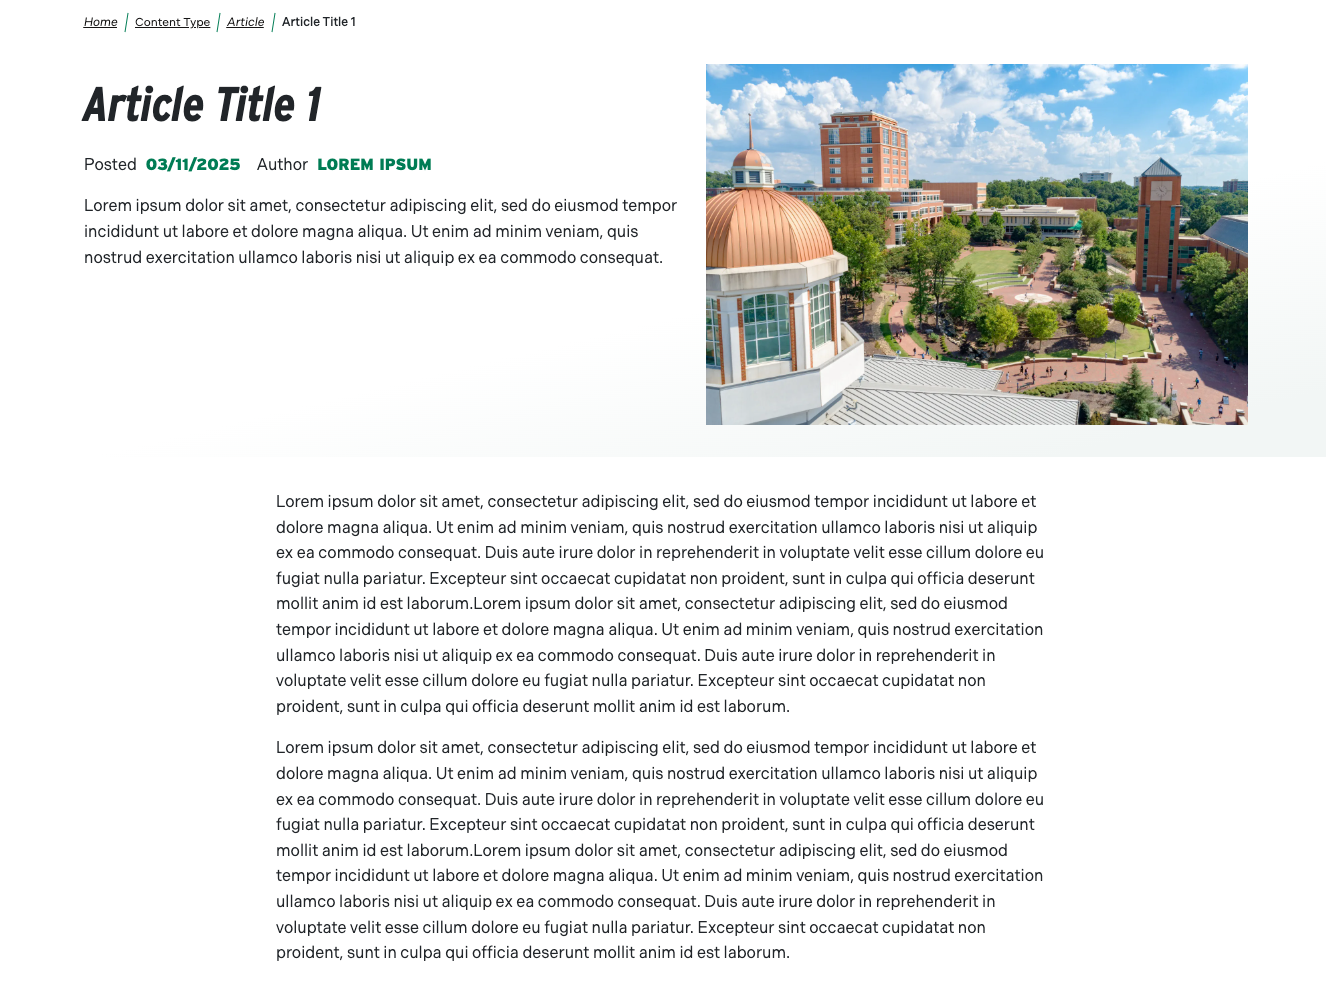
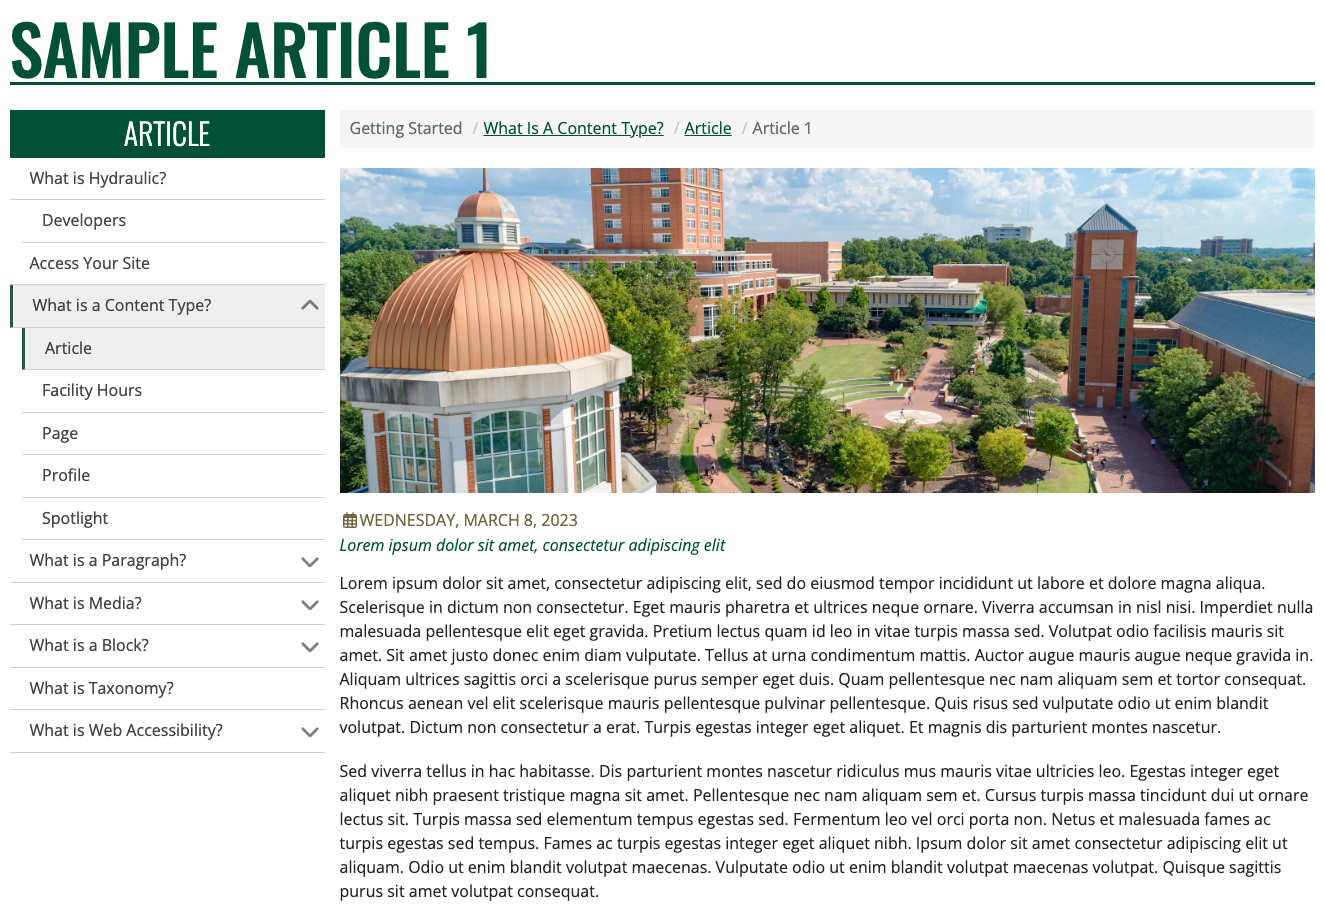
- Image (optional) - An image for the article. This displays in the header of the page.
- While optional, the Article - Highlight component does not look right without
- Categories & Tagging (optional) - Provides the ability to add Categories or Tags to the article for filtering when displaying in a list format.
- Content (required) - Ability to add content using a variety of available components.
- Log in to your site as an editor or user with the appropriate permissions.
- Click on the Content link in the admin menu or toolbar
- Create button will provide a list of content types to choose from
- From the list, select Article
- Content button will show you a listing of all content already created
- Click on the Add Content button
- From the list, select Article
- Create button will provide a list of content types to choose from
- Enter a title for the article in the Title field.
- Fill in the other fields as desired.
When you are finished, click the Save button to save the article.
- Provides real-time analysis of the Search Engine Optimization (SEO) for your content
- Ability to add the content to a menu structure
- Ability to control the order in which content shows in pre-built lists
- Ability to schedule content to be published or unpublished on a specific day and time
- Generate or create your own URL to the content
- Ability to add additional URLs that will take users to this content